Friday 25 March 2011

Stampin Up! Fun and Fast notes

Sorry I have'nt posted for a while I've been really busy.  It was Rebeccca's 13th birthday last week, yes I now have a teenager in the house.  I have been playing with the fun and fast note set, (another set from my starter kit) it's a great little set, very versatile.  Top tip, if you buy it cut the sentiments off and mount them on the side of the wood block, it makes it really easy to mix and match. I didn't do this so had to use scraps of paper to cover the bits I didn't want when I inked the stamp up.
I used a basic sketch, so it was quick and easy to make a few different cards with this stamp set.   I am doing some make and takes for my first workshop with this set so will make a tutorial section to put the instructions.
I used the wild wasabi card stock and the fast flower wheel, I used a different sentiment to the one on the stamp. Here's another card using the same sketch, this time vertical, I added some basic pearls as I knew I had to open the packet at some point, I've just been admiring them and putting them back in the box!
Bye for now, I will let you know how the workshop went, it's just a small practise one but I'm sure we'll have lots of fun.


Sunday 13 March 2011

Secret Message Birthday Card

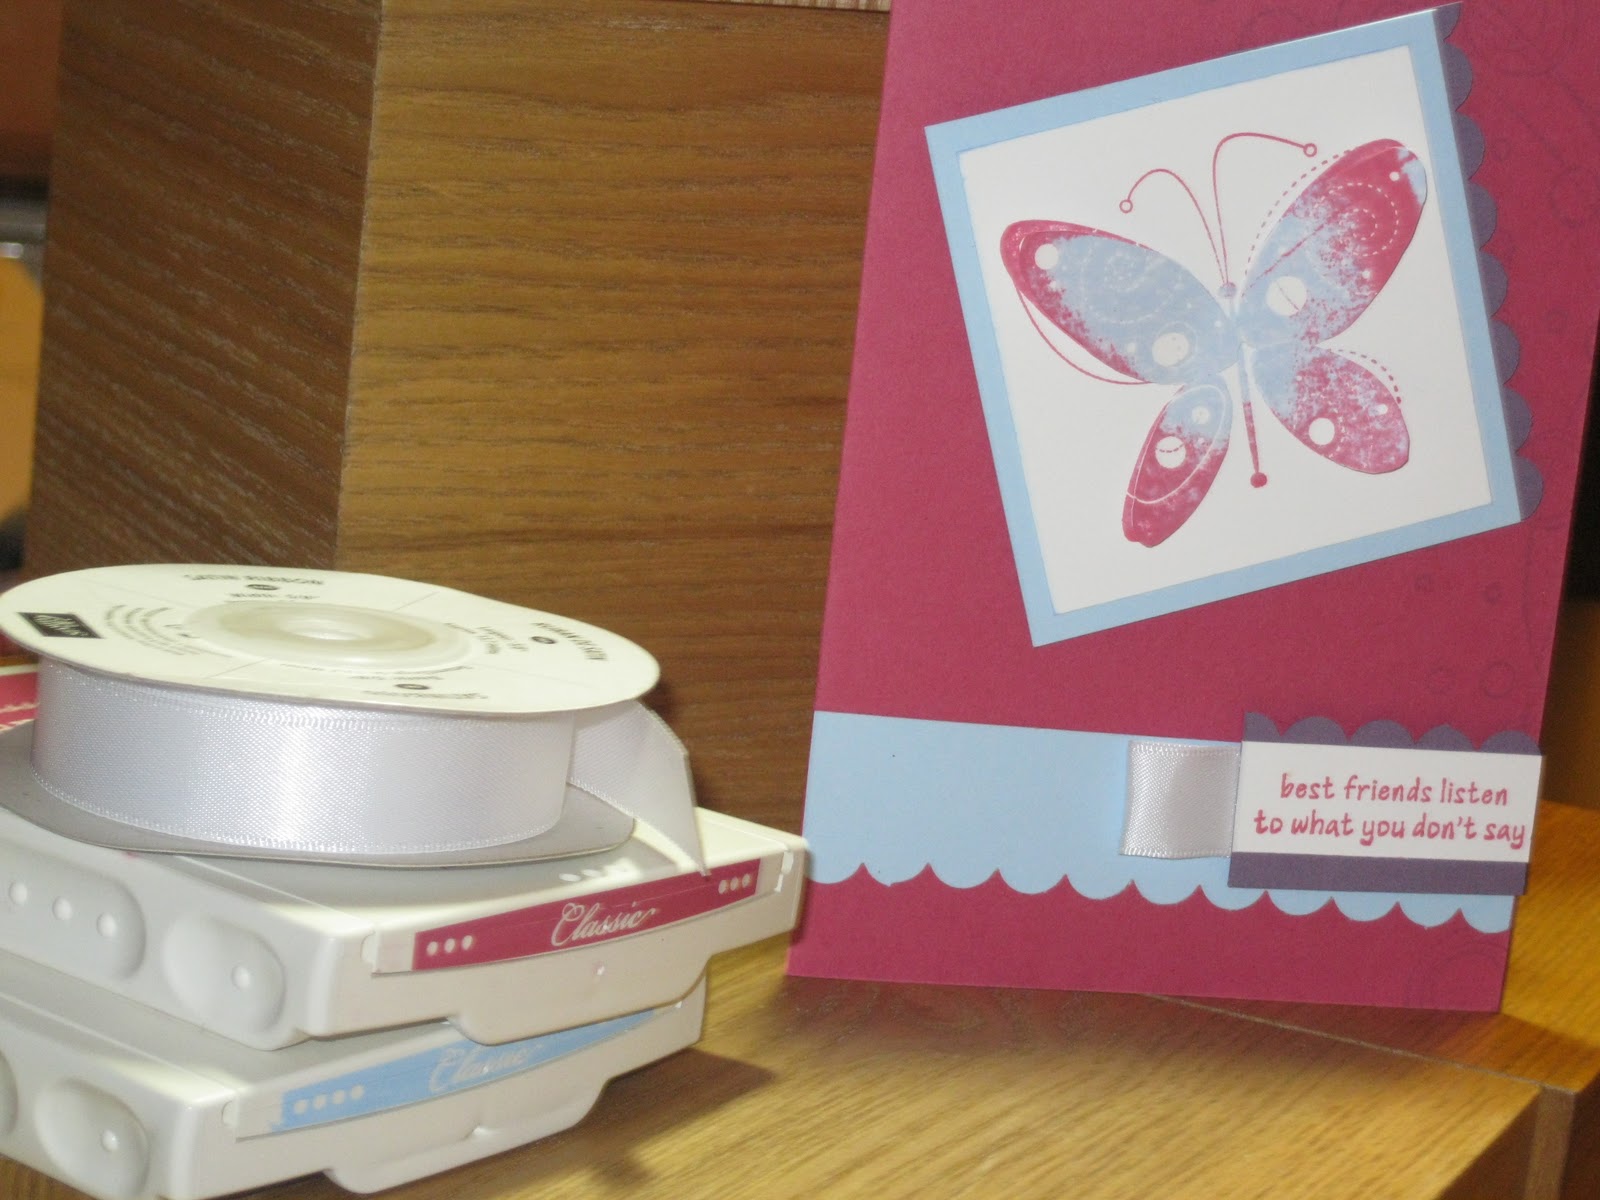
My eldest daughter Rebecca is 13 on Tuesday. It doesn't seem five minutes since she was 3, doesn't time fly?  Here is the birthday card I have made her using the birthday stamp from fast notes and the whimsy wheel. Rose red ink stamp and card stock again (I think this is my favourite colour at the moment), matted on bashful blue and perfect plum, I used the scallop border punch as well.
Here is the inside of the card. I used the whimsy wheel again using rose red ink and coloured a few circles in with markers and added a few 13's.

Now if you fold the middle up and gently peel it apart you have a secret section for your message. I haven't written my message yet as it's a secret! It's a really easy card to make and it amazes me how it works. It's just one piece of card stock folded and cut but it looks like you've done pages.
  If anyone would like a tutorial on this please leave me a comment, if I know people are going to look at it I will make one and post it.

Saturday 12 March 2011

Rock and Roll the Stampin' Up! way

As I said in my last post I haven't been dancing, (well maybe a bit in the cinema just to embarass the kids).  I have been trying out the rock and roll technique, which was new to me, I love the effect. First ink your stamp in a light colour then rock and roll the edges on a darker ink pad trying not to ink the middle. I've tried it on the butterfly from the garden whimsy stamp set but I think it would be easier on a more even edged stamp like a circle. When I get a bit more adventurous I will do a tutorial.


Here's my first rock and roll attempt using bashful blue and rose red, I think I need to practise taking photographs as I've missed the top of the card.  I did use the whimsy jumbo wheel in the background but you can't see on the photo, I love the wheels so I'm sure I will do some more cards with it.

Thursday 10 March 2011

Stampin' Up, vintage vogue

I love the vintage vogue stamp set, although I have started playing with the other sets that came in my starter kit. I did some rock and roll the stampin' up way last night with the garden whimsy set, no I wasn't dancing in the kitchen again! I'll tell you about it in my next post, after I've taken and downloaded the photographs.
Now, back to vinage vogue, here I have used bashful blue ink and stamped and sponged a background paper.
I made a little french fry carton, (I think that's what it's called), out of a 6x6 piece of DSP in bashful blue, (designer series paper) and stamped a topper to go on. I thought it may be nice with a little chocolate egg in. Bye for now.